
When you drag an application to the Trash on macOS, it often feels like the job is done. However, standard uninstallations usually leave behind hidden library files, caches, preferences, and background agents. Over time, these orphaned items clutter your storage and cause system slowdowns or software conflicts.
Stubborn applications—such as persistent security tools, rogue extensions, or damaged apps—frequently refuse to delete through traditional methods. This guide covers how to completely erase stubborn Mac software along with all supporting background files, ensuring your drive remains clean and optimized.
Quick Prerequisites & Initial Checks
Before diving into advanced removal methods, run through these quick checks to prepare your system for clean deletion:
-
Quit the Target App: Ensure the application is completely closed. Check your Menu Bar and right-click the app icon in the Dock, then select Quit.
-
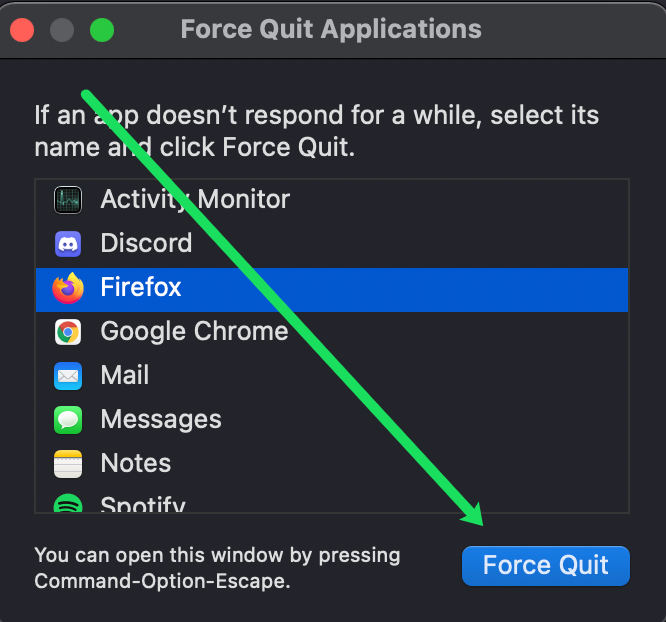
Close Associated Background Processes: Open Activity Monitor via Finder > Applications > Utilities. Search for the application name, select any matching active processes, and click the Stop (X) button at the top to select Force Quit.
-
Backup Important Data: If the software contains user files, backup those documents before proceeding with complete system removal.
Method 1: Remove via Native macOS Finder & Library Folders
The most reliable native way to remove software completely is manually deleting the core binary along with its deep application support data.
Open Finder and navigate to the Applications folder in the left sidebar. Locate the stubborn app, right-click its icon, and select Move to Trash.
Verification: The application icon will no longer appear inside your Applications directory.
In Finder, hold down the Option key on your keyboard and click Go in the top menu bar. Select Library from the dropdown menu.
Verification: A new folder path opening to ~/Library will appear on your screen.
Open the following subdirectories inside Library one by one. Look for folders or files bearing the application name or vendor name, then drag them to the Trash:
-
~/Library/Application Support/ -
~/Library/Caches/ -
~/Library/Preferences/ -
~/Library/Logs/ -
~/Library/Containers/ -
~/Library/Saved Application State/
Verification: Ensure all folders carrying the app’s bundle identifier (e.g., com.vendor.appname) are removed.
Right-click the Trash icon on your Dock and click Empty Trash. Restart your Mac to clear cached process entries.
Verification: Storage space will be reclaimed, and system cache logs will refresh.
Method 2: Clean Launch Daemons and Background Helpers
Persistent software often installs background startup agents that re-create app files even after manual deletion.
Open Finder, click Go in the top menu bar, and select Go to Folder…. Type /Library/LaunchDaemons into the search box and press Return.

Scan the folder for .plist files matching the stubborn program’s vendor name. Select the matching .plist files and move them to Trash.
Verification: The associated daemon configuration file will be cleared from system boot paths.
Repeat the Go to Folder… command for the following paths, deleting relevant .plist entries in each location:
-
/Library/LaunchAgents -
~/Library/LaunchAgents
Verification: No background authorization files for that vendor will remain active at user login.
Method 3: Use Native App-Specific Uninstallers
Many complex software packages install built-in uninstall scripts designed to remove low-level system extensions safely.
Open Finder and go to Applications. Look inside the target app’s folder for an executable named Uninstall, Uninstaller, or Remover.
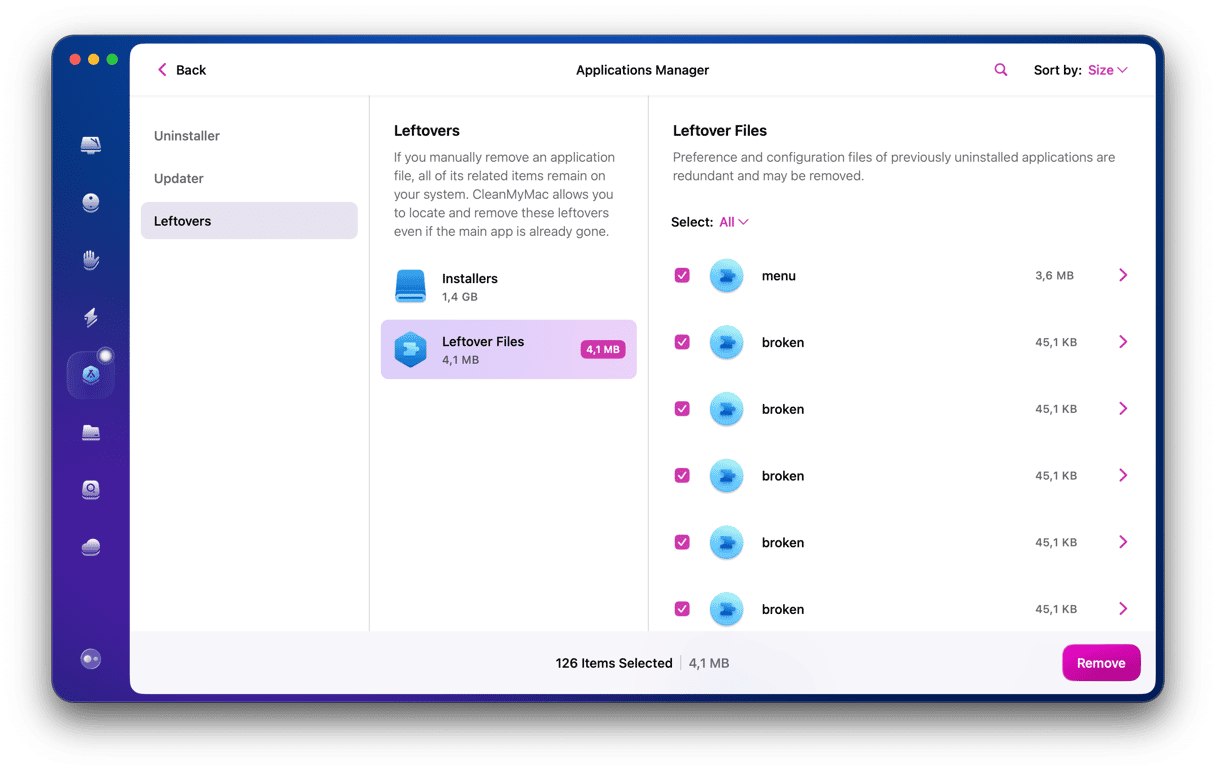
Double-click the uninstaller utility. Follow the on-screen prompts, enter your macOS admin password when requested, and complete the guided cleanup process.
Verification: The native installer will clear registered kernel extensions and secondary background frameworks cleanly.
Method 4: Completely Purge Apps via Terminal (Advanced)
When macOS permissions prevent deleting locked files in Finder, command-line flags force full system removal.
Press Command + Space to open Spotlight, type Terminal, and press Return.
Type the following command, leave a space at the end, and drag the application folder from Finder directly into the Terminal window to auto-complete the exact path:
Bash
sudo rm -rf /Applications/TargetAppName.app
Press Return and type your macOS account password when prompted.
Verification: Terminal will return a clean line without errors, confirming complete path deletion.
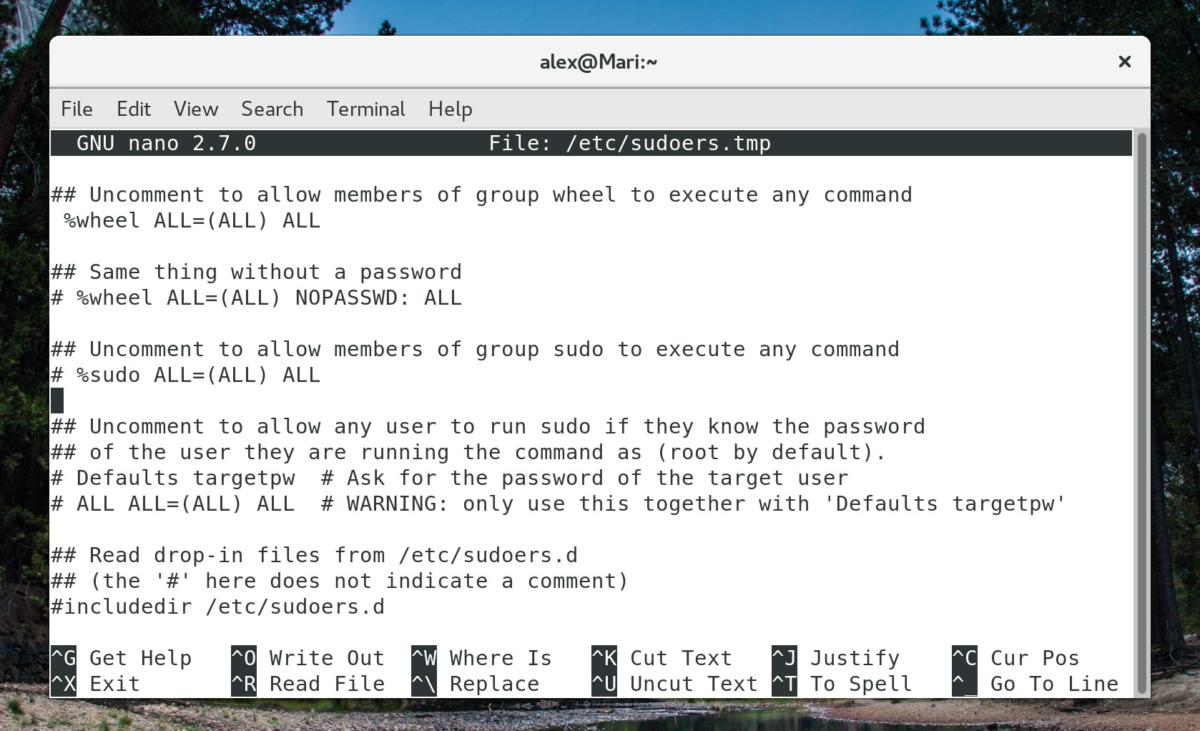
Execute targeted removal commands for lingering application support folders:
Bash
sudo rm -rf ~/Library/Application\ Support/TargetAppName
Verification: Target files inside system protection directories will be completely purged.
Frequently Asked Questions
Why does an app reappear in my Dock after being deleted?
This occurs when background startup items like LaunchAgents remain active on your Mac. These background helpers automatically regenerate core app files upon reboot. Removing matching .plist entries from ~/Library/LaunchAgents fixes this.
Is it safe to delete files inside the Library folder?
Yes, provided you only delete files clearly bearing the specific name or vendor identifier of the program you want to remove. Never delete general system .plist files or shared support directories.
Do drag-and-drop uninstalls ever clean all app files?
No. Standard drag-and-drop deletion only removes the .app execution file. Preferences, local state records, and cache entries stay behind in ~/Library until manually removed.
Removing stubborn software on macOS requires clearing both primary binaries and scattered support data. Following these targeted manual methods keeps your system clean, secure, and free of unnecessary background processes.

Pony Lorenzo is the lead technical writer and managing editor at Finauraly Win. With extensive experience in operating system maintenance, software diagnostic testing, and digital productivity tools, Pony specializes in breaking down complex technical errors into actionable, step-by-step troubleshooting guides for Windows, macOS, Android, and Web applications.