
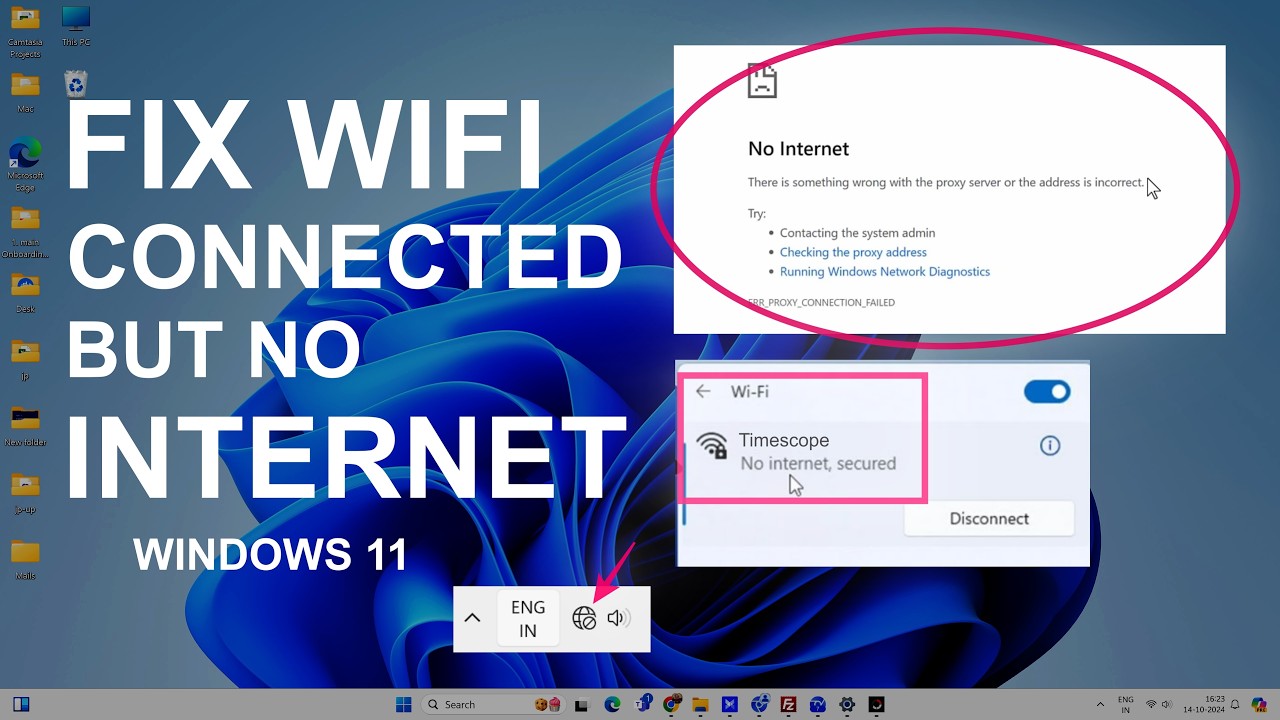
Windows 11 can sometimes show that your computer is connected to Wi-Fi while websites, apps, and other online services still cannot reach the internet. The Wi-Fi connection itself may appear normal, but Windows reports “No Internet”, “No Internet access”, or a similar status.
This does not always mean that your Wi-Fi password or router is the problem. The failure can occur at several different points, including the connection between your PC and router, IP address assignment, DNS resolution, the Windows network stack, the network adapter, or its driver.
This guide walks through those possibilities in a sensible order. Start with the simple checks first and move toward network commands, adapter troubleshooting, and the Windows network reset only when necessary.
Applies to: Windows 11
Difficulty: Beginner to intermediate
Estimated time: 10–30 minutes
Before You Start: Determine Where the Problem Is
Before changing Windows networking settings, find out whether the problem affects only your PC or the entire Wi-Fi connection.
Connect a phone, tablet, or another computer to the same Wi-Fi network and open a website.
- If other devices also cannot access the internet, the problem may be with the router, modem, or internet service.
- If other devices work normally but your Windows 11 PC does not, focus on the PC.
- If only one website or application fails, the problem may not be the Windows internet connection itself.
Microsoft also recommends testing the same network from another device because this can help determine whether the problem is with the Windows device or the network itself.
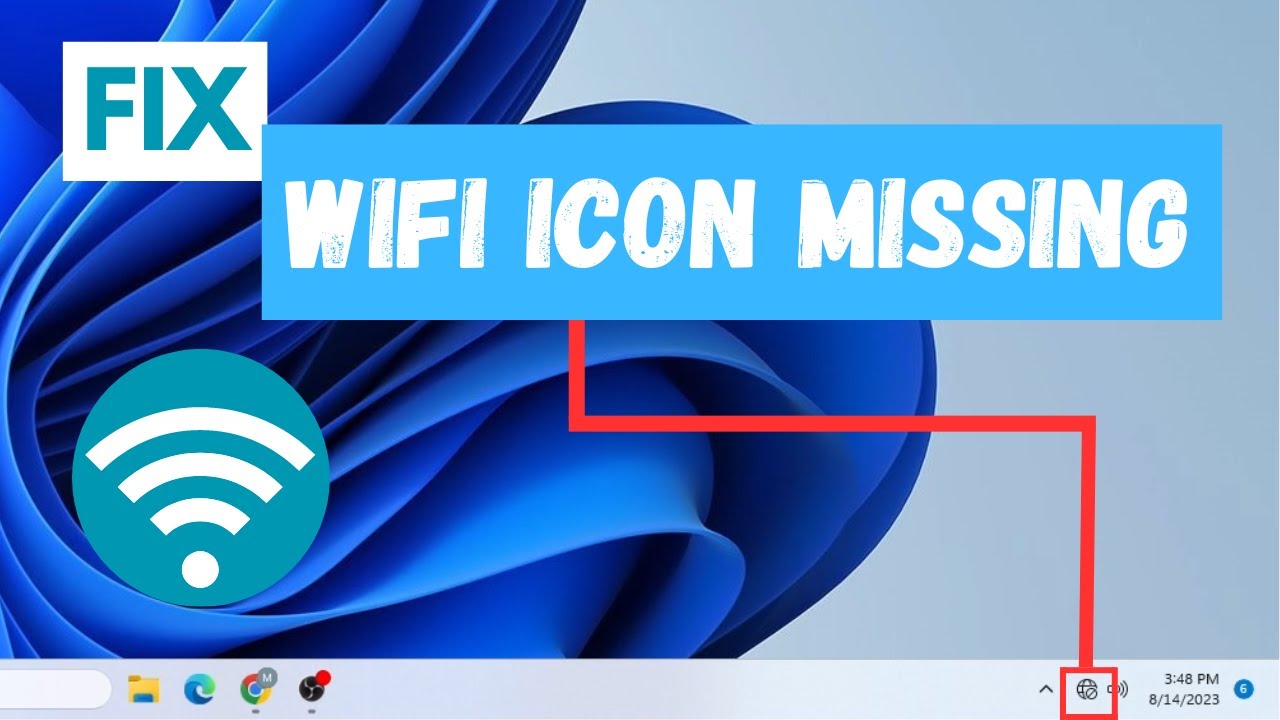
1. Turn Wi-Fi Off and Back On
The first step is simple, but it can clear a temporary connection problem without changing any saved network configuration.
- Select the Network icon on the Windows 11 taskbar.
- Open the Wi-Fi controls.
- Turn Wi-Fi off.
- Wait approximately 10 seconds.
- Turn Wi-Fi back on.
- Select your wireless network and reconnect.
Open a browser and test several websites rather than checking only one page.
If the connection works again, there is no reason to perform the more invasive resets later in this guide.
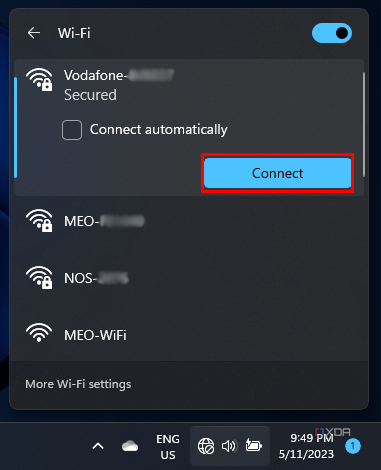
2. Forget the Wi-Fi Network and Connect Again
If Windows remembers an incorrect or outdated wireless profile, removing that saved profile can help establish a fresh connection.
- Open Settings.
- Select Network & internet.
- Select Wi-Fi.
- Select Manage known networks.
- Find your wireless network.
- Select Forget.
After removing the saved network, return to the Wi-Fi list and connect again. You will need to enter the Wi-Fi password.
Microsoft’s Windows Wi-Fi documentation confirms that saved wireless networks can be managed from the Wi-Fi settings area.
Screenshot placement: Show Settings > Network & internet > Wi-Fi > Manage known networks with the target network selected.
3. Restart the Router and Modem
If your other devices also have no internet access, do not immediately change Windows networking settings. Restart the network equipment first.
- Save any work that depends on the internet.
- Turn off or unplug the router.
- If you have a separate modem or gateway, power it off as well.
- Wait for the equipment to shut down completely.
- Power the modem or gateway back on first.
- Wait until its connection indicators stabilize.
- Power the router back on.
- Wait for the wireless network to become available.
- Reconnect the Windows 11 PC.
If every device on the network still reports no internet connection after the restart, the problem may be outside Windows. Check your ISP’s service status or contact the provider if necessary.
4. Check Windows Network Status
Windows provides a quick way to see whether it believes the PC has an internet connection.
- Open Settings.
- Select Network & internet.
- Select Wi-Fi.
- Check the current connection status.
Pay attention to whether Windows identifies the PC as connected to the local network but without internet access.
This distinction matters because a computer can successfully communicate with the router while still failing to reach internet services.

5. Check Your IP Address
A Windows PC normally receives an IP address from the router. If that process fails, the computer may be connected to Wi-Fi but unable to communicate properly beyond the local network.
To inspect the current configuration:
- Open Start.
- Search for Command Prompt.
- Select Run as administrator.
- Accept the User Account Control prompt if displayed.
- Enter:
ipconfigLook for the wireless adapter section and examine the IPv4 address, default gateway, and other network information.
Do not manually change these values just because they look unfamiliar. If your network normally uses automatic configuration, unnecessary manual changes can create another problem.
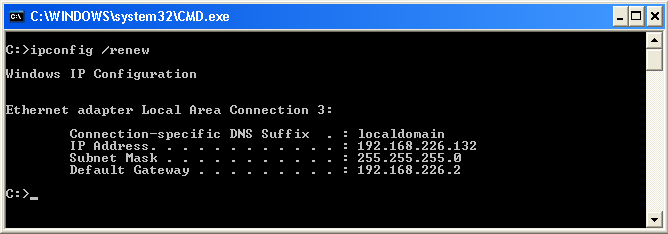
6. Renew the Windows IP Address
If the PC has an IP configuration problem, Windows can request a new address from the network.
In an elevated Command Prompt, run:
ipconfig /releaseThen run:
ipconfig /renewWait for each command to finish before running the next one.
Afterward, test the internet connection again.
Microsoft includes ipconfig /release and ipconfig /renew among its recommended network troubleshooting commands for Windows connectivity problems.
7. Flush the DNS Cache
DNS converts domain names such as example.com into network addresses. If Windows has stale or incorrect DNS information, some websites may fail to load even though the computer appears connected.
Open Command Prompt as administrator and run:
ipconfig /flushdnsWindows should report that the DNS Resolver Cache was successfully flushed.
Now close the browser completely, reopen it, and test the connection again.
Microsoft specifically includes ipconfig /flushdns in its Windows Wi-Fi troubleshooting sequence.
8. Reset Winsock and the TCP/IP Stack
If the basic IP and DNS commands did not solve the problem, the Windows networking stack may need to be reset.
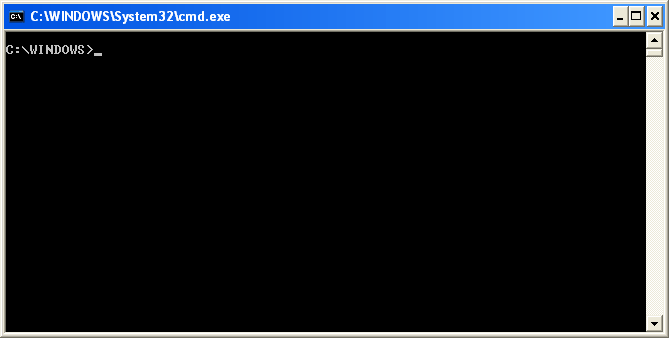
Open Command Prompt as administrator and run these commands one at a time:
netsh winsock reset
netsh int ip reset
ipconfig /release
ipconfig /renew
ipconfig /flushdns
Press Enter after each command.
When the commands are complete, restart the computer.
These commands address different parts of Windows networking: Winsock, TCP/IP configuration, IP address assignment, and DNS cache. Microsoft documents this sequence as part of its Windows connectivity troubleshooting guidance.
9. Check the Network Adapter in Device Manager
If the internet still does not work, inspect the physical or virtual network adapter Windows is using.
- Open Start.
- Search for Device Manager.
- Open it.
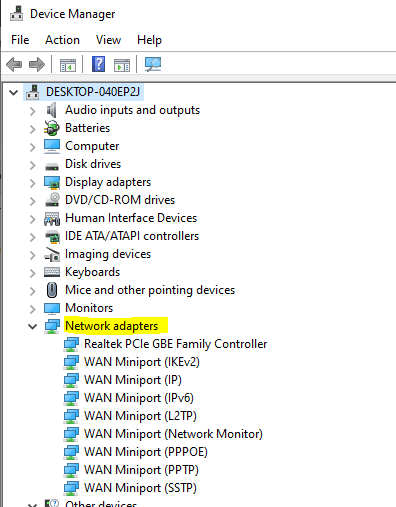
- Expand Network adapters.
- Find the wireless adapter.
Look for warning icons or an adapter that appears disabled.
If the adapter is disabled, right-click it and look for Enable device.
If there is a warning icon, open the adapter’s properties and review the reported device status before making changes.
Do not uninstall the adapter immediately. First record its exact name and check whether your PC manufacturer provides a current driver for that model.
10. Consider the Wi-Fi Driver
A network problem that began immediately after a Windows update, driver update, or hardware change may involve the network adapter driver.
Microsoft recommends obtaining the appropriate driver from the computer manufacturer’s website before uninstalling an adapter when driver troubleshooting becomes necessary.
Before removing anything:
- Record the exact adapter model.
- Visit the PC manufacturer’s official support website.
- Download the appropriate Windows 11 network driver if one is available.
- Keep the installer available in case Windows does not automatically restore the driver.
Only then should you consider uninstalling the adapter through Device Manager.
Microsoft’s documented procedure is to open Device Manager, expand Network adapters, select the adapter, choose Uninstall device, and restart Windows. Windows can then attempt to reinstall the adapter driver.
11. Check VPN and Proxy Settings
A VPN or manually configured proxy can interfere with internet access even when the underlying Wi-Fi connection is working.
If you use a VPN, disconnect it temporarily and test a normal website.
You can also inspect Windows proxy settings:
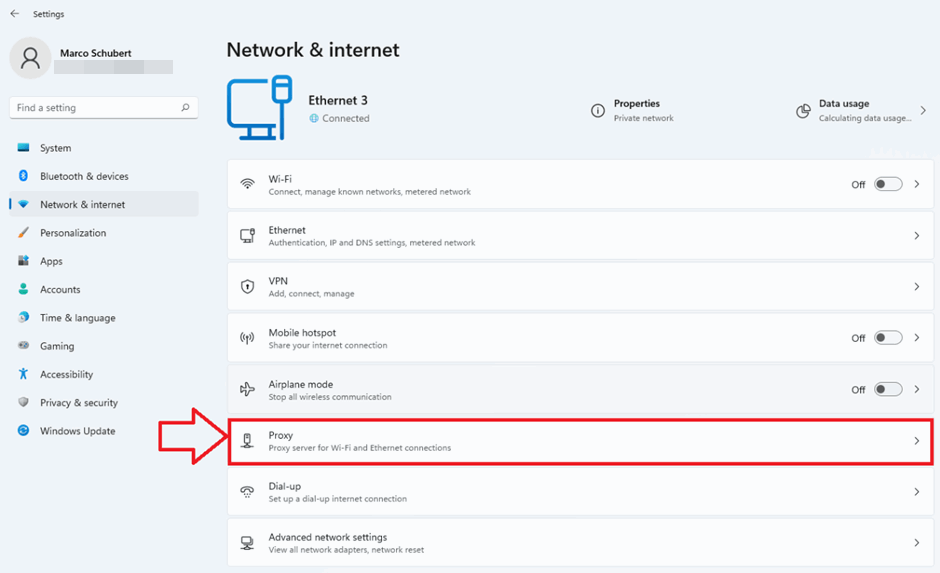
- Open Settings.
- Select Network & internet.
- Select Proxy.
- Review the proxy configuration.
If you are on a company or school network, do not disable a required proxy simply because it is present. Ask the network administrator what configuration is expected.
12. Test Another Wi-Fi Band if Your Router Provides One
Some routers provide separate 2.4 GHz and 5 GHz networks. If both are available, test the other network.
For example, if your computer fails on the 5 GHz network but connects normally to 2.4 GHz, the issue may be related to the particular wireless band, adapter compatibility, signal conditions, or router configuration.
Microsoft recommends trying another available frequency band as part of Wi-Fi troubleshooting.
13. Use Windows Network Reset Only as a Later Step
Network Reset is more disruptive than simply reconnecting to Wi-Fi, so it should not be the first thing you try.
If the earlier steps have failed, open:
Settings > Network & internet > Advanced network settings > Network reset
Review the information Windows displays before selecting the reset option.
Network Reset can remove and reinstall network adapters and return networking settings to their defaults. You may need to reconnect to Wi-Fi afterward and reconfigure certain VPN or virtual-network software.
Because this changes more of the Windows networking configuration than the earlier troubleshooting steps, use it as a later recovery option rather than a routine first fix.

14. Restart Windows and Test the Connection Properly
After making network-stack, adapter, or driver changes, restart Windows before deciding whether the problem is fixed.
Once Windows starts again:
- Reconnect to Wi-Fi.
- Open your browser.
- Visit several unrelated websites.
- Open an application that requires internet access.
- Check whether the connection remains stable for several minutes.
Do not consider the issue resolved simply because one website loads once. A stable connection should work across multiple websites and applications.
How to Tell What Actually Fixed the Problem
If the connection starts working, think about the last change you made.
| Last change | What it suggests |
|---|---|
| Wi-Fi reconnect | Temporary wireless connection problem |
| Forget and reconnect | Saved Wi-Fi profile may have been involved |
| IP release/renew | IP address or DHCP-related issue may have been involved |
| DNS flush | Cached DNS information may have contributed |
| Winsock/TCP-IP reset | Windows networking configuration may have been corrupted or misconfigured |
| Driver change | Network adapter software may have been involved |
| Network Reset | Windows networking configuration required a broader reset |
This does not prove the exact root cause in every case, but recording what changed makes future troubleshooting much easier.
What You Should Not Change Without a Reason
When troubleshooting internet access, avoid making several unrelated changes at the same time.
- Do not manually assign an IP address unless you know the network requires it.
- Do not change DNS servers simply because a website is temporarily unavailable.
- Do not uninstall a network adapter before obtaining the correct driver when possible.
- Do not reset the router to factory defaults unless you are prepared to configure it again.
- Do not disable security software permanently as a troubleshooting shortcut.
- Do not use random registry modifications found on forums without understanding what they change.
Changing one thing at a time makes troubleshooting much easier because you can identify which action actually affected the connection.
When the Problem Is Probably Not Windows
The Windows PC may not be responsible if:
- Every device on the Wi-Fi network has no internet access.
- The router reports an internet or WAN error.
- The modem cannot establish a connection to the ISP.
- The connection repeatedly drops across phones, tablets, and computers.
- Your ISP reports an outage.
In these situations, Windows troubleshooting may not solve the underlying problem. Check the router, modem, cabling, and internet service before making deeper changes to the PC.
Related Finauraly Win Guides
If you are troubleshooting a broader Windows or device problem, these related guides may also help:
- How to Fix 100% Disk Usage in Windows Task Manager — useful when Windows performance problems are occurring alongside connectivity issues.
- How to Enable and Configure Two-Factor Authentication Across Essential Apps — a practical follow-up if your internet connection is working but you are reviewing account security.
Frequently Asked Questions
Why does Windows 11 say Wi-Fi is connected but there is no internet?
Wi-Fi connection and internet access are not exactly the same thing. Your computer can communicate with the wireless router while the router, DNS service, IP configuration, or internet connection beyond the router is failing.
Will restarting my router delete my Wi-Fi password?
A normal power restart does not normally erase the router’s configuration. A factory reset is different and can remove customized settings, so do not press a reset button unless you intend to reconfigure the router.
What command should I use first to fix Windows internet problems?
There is no single command that fixes every network problem. Microsoft recommends a sequence that can include netsh winsock reset, netsh int ip reset, ipconfig /release, ipconfig /renew, and ipconfig /flushdns.
Should I use Windows Network Reset immediately?
No. Network Reset changes more of the Windows networking configuration than simpler troubleshooting steps. Try reconnecting to Wi-Fi, checking the IP configuration, resetting the network stack, and checking the adapter first.
What if every device in my house has no internet?
If phones, tablets, computers, and other devices all lose internet access on the same network, the issue is more likely to involve the router, modem, ISP connection, or upstream service than one Windows PC.
Final Takeaway
When Windows 11 says “No Internet” even though Wi-Fi is connected, do not immediately reinstall Windows or make major configuration changes. First determine whether the problem affects one device or the entire network.
For a problem isolated to the PC, work through the troubleshooting steps in order: reconnect to Wi-Fi, forget the saved network, check the IP configuration, renew the address, flush DNS, reset Winsock and TCP/IP, inspect the network adapter, check drivers and VPN/proxy settings, and use Network Reset only when the simpler options have failed.
The goal is not just to make the Wi-Fi icon change. The real test is whether Windows can maintain a stable connection across multiple websites and applications after the change.
Official Sources
- Microsoft Support: Fix Wi-Fi connection issues in Windows
- Microsoft Support: Connect to a Wi-Fi network in Windows
- Microsoft Learn: Wireless network connectivity issues troubleshooting

Pony Lorenzo is the lead technical writer and managing editor at Finauraly Win. With extensive experience in operating system maintenance, software diagnostic testing, and digital productivity tools, Pony specializes in breaking down complex technical errors into actionable, step-by-step troubleshooting guides for Windows, macOS, Android, and Web applications.