

Corrupted system files are a common cause of unexpected Windows crashes, blue screens, missing DLL errors, and sluggish performance. These files usually break due to improper system shutdowns, failed software updates, hardware failures, or malware infections. When essential core files become damaged, Windows loses the exact instructions needed to run specific services smoothly.
Fixing these issues does not require reinstalling your entire operating system. Built directly into Windows are two command-line utilities: System File Checker (SFC) and Deployment Image Servicing and Management (DISM). Working together, these tools scan, locate, and repair damaged system files using clean local copies or official Windows Update images. This step-by-step guide walks you through diagnosing and fixing your system file integrity without losing any personal data.
Quick Checks Before You Begin
Before executing command-line repair utilities, complete these basic prerequisite checks to save time and prevent execution errors:
-
Verify Administrative Access: Ensure you are logged into an account with full administrative rights. Standard accounts cannot run system-level repair tools.
-
Check Internet Connection: The DISM tool often fetches clean replacement files directly from Windows Update servers. Verify your network connection is active.
-
Save Open Work: Close all open applications, documents, and active background programs to prevent data loss or resource conflicts during file replacement.
Method 1: Perform Basic System Repairs with System File Checker (SFC)
The System File Checker (SFC) utility scans all protected system files and replaces corrupted or missing files with a cached copy stored in a compressed folder inside your Windows directory.
Step 1: Open Command Prompt as Administrator
-
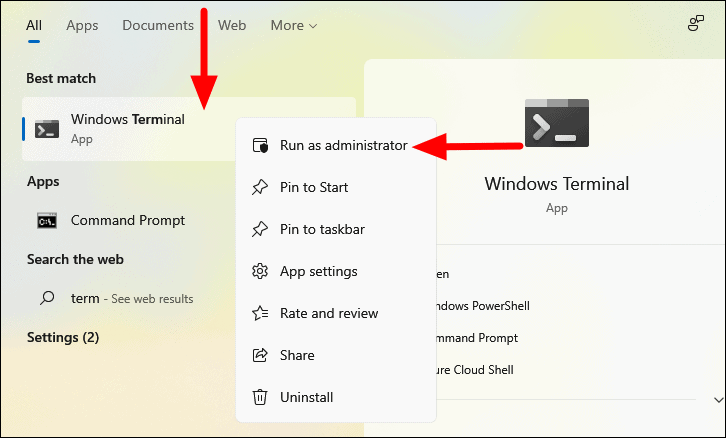
Press the Windows Key on your keyboard or click the Start button.
-
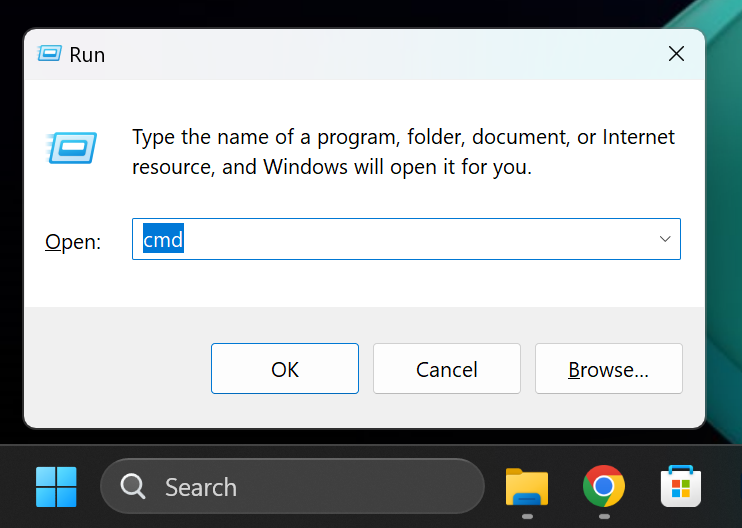
Type cmd into the search bar.
-
Right-click on Command Prompt from the search results and select Run as administrator.
-
Select Yes if the User Account Control (UAC) window asks for confirmation.
Step 2: Execute the SFC Scan
-
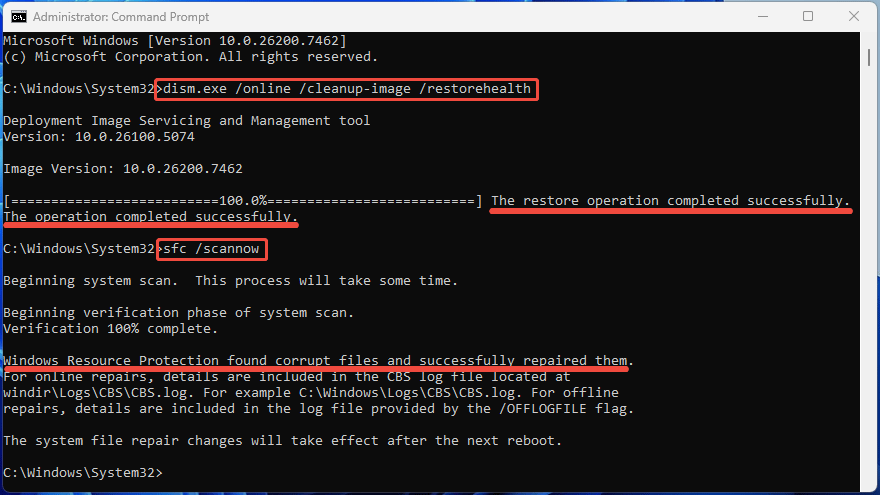
In the terminal window, type
sfc /scannowand press Enter. -
Keep the Command Prompt window open while the tool scans system integrity. The process typically takes between 5 and 20 minutes depending on your storage drive speed.
Step 3: Interpret SFC Scan Results
Once the process reaches 100% completion, you will see one of the following output messages:
-
Windows Resource Protection did not find any integrity violations: Your system files are intact and clean.
-
Windows Resource Protection found corrupt files and successfully repaired them: The corrupted files were located and automatically replaced. Restart your PC to finish applying changes.
-
Windows Resource Protection found corrupt files but was unable to fix some of them: SFC found damaged files but could not retrieve a clean replacement from the local cache. Proceed to Method 2.
Method 2: Repair the System Image with DISM
When the SFC tool fails to repair corrupt files, it is usually because the local source cache itself is damaged. The Deployment Image Servicing and Management (DISM) utility fixes the underlying Windows system image so that SFC can function properly again.
Step 1: Check System Image Health
-
Open Command Prompt as administrator.
-
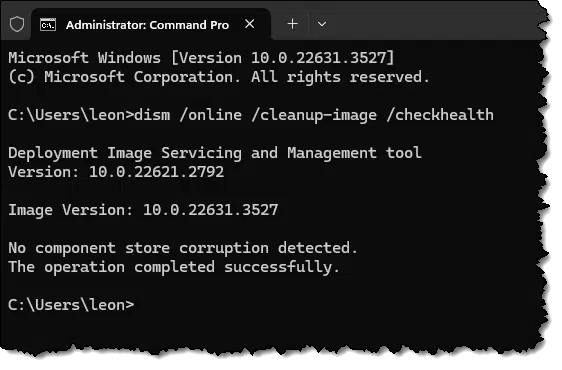
Type
DISM /Online /Cleanup-Image /CheckHealthand press Enter. This command performs a rapid check to determine whether the local image has flagged corruption.
Step 2: Scan for Image Corruption
-
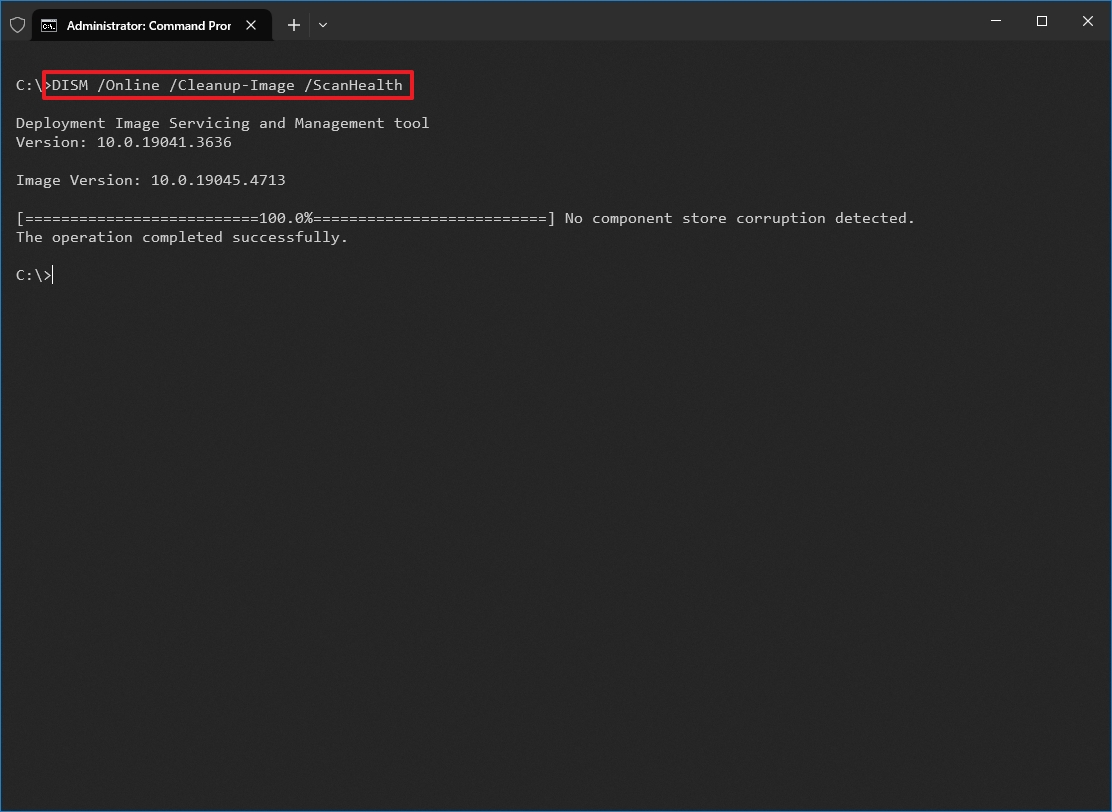
Type
DISM /Online /Cleanup-Image /ScanHealthand press Enter. -
Wait for the scan to finish. This step does a deeper scan to check if the Windows image is repairable.
Step 3: Restore System Health
-
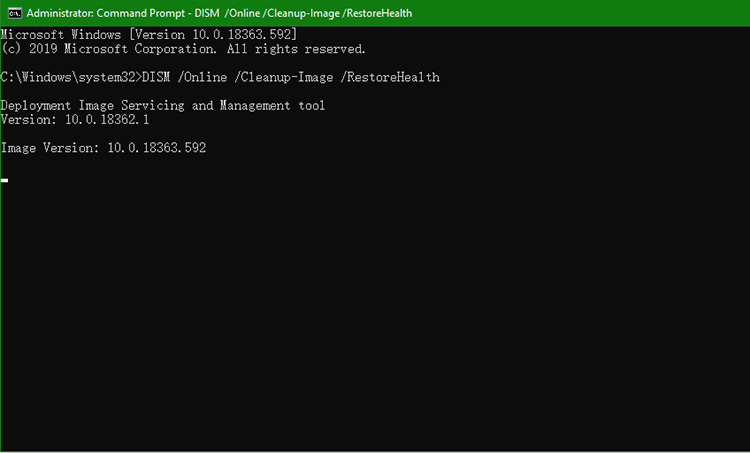
Type
DISM /Online /Cleanup-Image /RestoreHealthand press Enter. -
DISM will connect to Windows Update online to download and replace damaged components automatically.
-
Once the operation completes successfully, run
sfc /scannowagain to repair remaining corrupted files using the newly restored image source.
Method 3: Use DISM with an External Windows Installation Source
If your computer lacks an active internet connection or the DISM tool fails while fetching files from Windows Update, you can supply a healthy system image manually using a Windows ISO file or installation USB drive.
Step 1: Mount the Windows ISO File
-
Download the official Windows Media Creation Tool from Microsoft’s website to create an ISO file matching your exact Windows version.
-
Right-click the downloaded ISO file and select Mount.
-
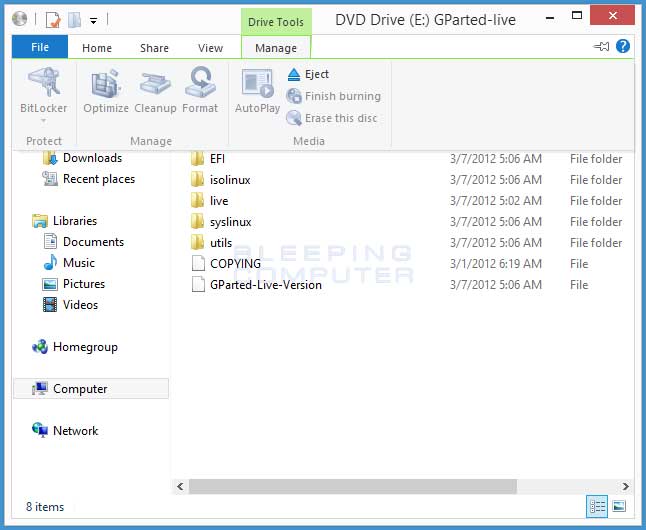
Open This PC in File Explorer and note the assigned drive letter for the mounted ISO drive (for example, drive E:).
Step 2: Point DISM to the External Repair Source
-
Open Command Prompt as administrator.
-
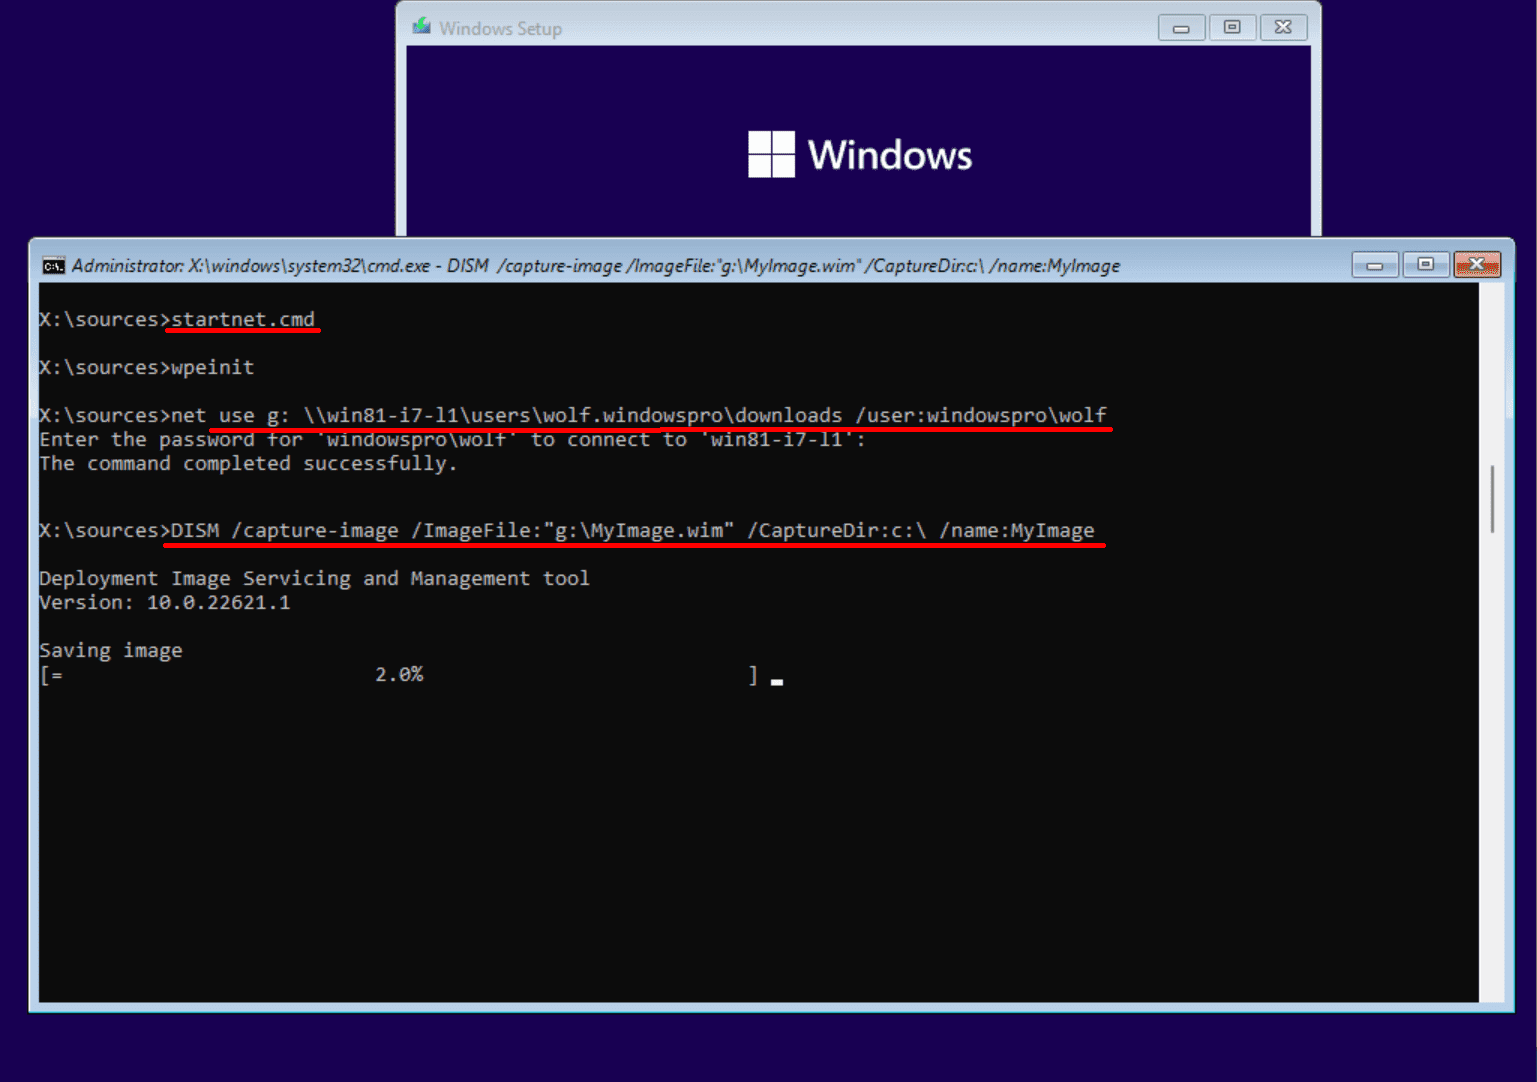
Enter the following command, replacing E: with your specific mounted drive letter:
DISM /Online /Cleanup-Image /RestoreHealth /Source:E:\Sources\install.wim /LimitAccess -
Press Enter to run the repair using the local offline source file exclusively.
Method 4: Run SFC and DISM in Safe Mode or Recovery Environment
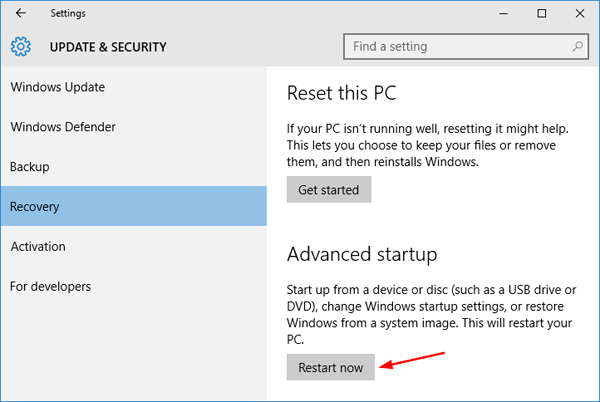
If Windows experiences severe instability or third-party software interferes with the repair process, execute these utility scans in Safe Mode or through the Windows Recovery Environment (WinRE).
Step 1: Boot into Safe Mode
-
Hold down the Shift key while clicking Restart in the Windows Start Menu.
-
On the blue screen that appears, navigate to Troubleshoot > Advanced options > Startup Settings.
-
Click Restart.
-
Press 4 or F4 on your keyboard to select Enable Safe Mode.
Step 2: Execute Repairs from Safe Mode
-
Once Windows reboots into Safe Mode, press Windows Key + X and select Terminal (Admin) or Command Prompt (Admin).
-
Execute
sfc /scannowto fix files without background third-party interference.
:max_bytes(150000):strip_icc()/002_how-to-force-windows-to-restart-in-safe-mode-2625163-5c77678446e0fb0001d83cb3.jpg)
Frequently Asked Questions
What is the difference between SFC and DISM?
SFC inspects and repairs protected system files using a pre-existing local cache stored on your hard drive. DISM inspects and repairs the Windows system image itself, downloading healthy replacement components from online update servers when local backup files become corrupted.
Should I run SFC or DISM first?
Always run SFC first for quick fixes. If SFC reports that it found corrupt files but could not repair them, or if your issues persist, run DISM /Online /Cleanup-Image /RestoreHealth followed by a second SFC scan.
Is running SFC /scannow completely safe for my files?
Yes, running SFC and DISM commands is safe. These tools only inspect and replace broken core Windows operating system files. They do not edit, delete, or alter your personal documents, photos, or installed software data.
Using SFC and DISM in tandem provides a reliable method to resolve core Windows system errors without resetting your PC. Running these simple command-line tools regularly keeps your operating system healthy, stable, and performing smoothly. If your system continues to experience severe crashing after completing these procedures, consider performing a Windows System Restore or a fresh operating system reinstallation.

Pony Lorenzo is the lead technical writer and managing editor at Finauraly Win. With extensive experience in operating system maintenance, software diagnostic testing, and digital productivity tools, Pony specializes in breaking down complex technical errors into actionable, step-by-step troubleshooting guides for Windows, macOS, Android, and Web applications.